Quick Summary
- Arrive 30 minutes before your scheduled appointment
- Venue: One Bangkok, Level 7 (take escalator to Level 6, then up one more)
- Total fees: THB 4,900 (THB 3,000 + THB 1,900)
- Dress code: collared shirt required
- Bring your original passport and all completed forms
- After your visit, activate your Digital Work Permit via email
Before You Go: What to Prepare
Once your appointment to collect your Non-B Visa and BOI eWork Permit is confirmed, make sure you have everything ready the day before. Showing up unprepared can cause delays or a wasted trip.
- Original passport (not a photocopy)
- All completed and printed BOI application forms
- Cash in Thai Baht — THB 4,900 total (THB 3,000 + THB 1,900) or Credit/Debit Card or Thai QR Code Payment
- Collared shirt (required for photo taking)
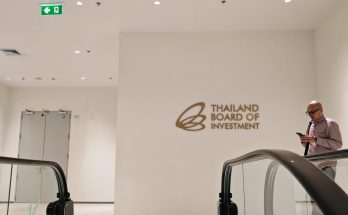
📍 Venue: One BangkokWitthayu Rd, Lumphini, Pathum Wan, Bangkok 10330![]() Located on the 6th and 7th Floor, the Parade Zone, One Bangkok
Located on the 6th and 7th Floor, the Parade Zone, One Bangkok
![]() Operating Hours: Monday – Friday, 08:30 – 16:30 (Closed on weekends & public holidays)
Operating Hours: Monday – Friday, 08:30 – 16:30 (Closed on weekends & public holidays)
💡 Pro TipArrive at least 30 minutes before your scheduled appointment. The process involves multiple counters and rooms, and getting oriented early saves stress.
Part 1: The Large Room (Work Permit Processing)
Getting There
- Enter via the mall entrance

Once inside One Bangkok, head to the mall entrance and take the escalator up to Level 6.
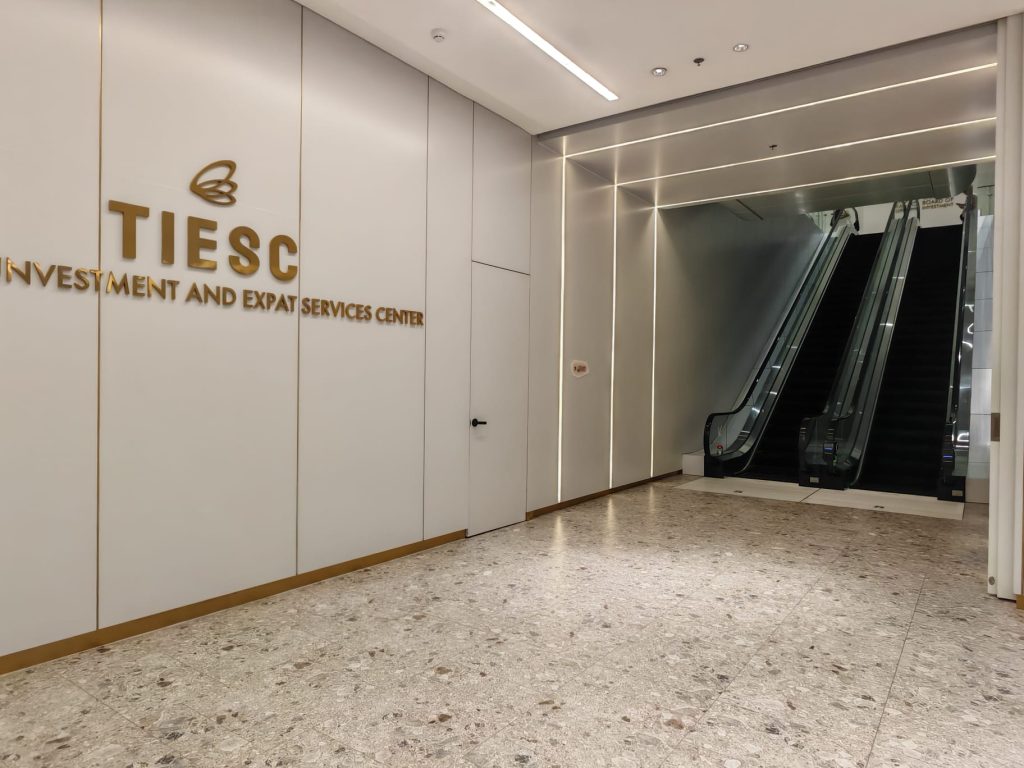
2. Go up one more floor
Look for the TIESC signage on Level 6 and take the escalator up one additional floor to Level 7.
3. Skip the first reception counter
As you enter, you’ll see a reception counter right away — ignore it and head directly into the larger room or you can ask the personnel there what to do.
Processing in the Large Room
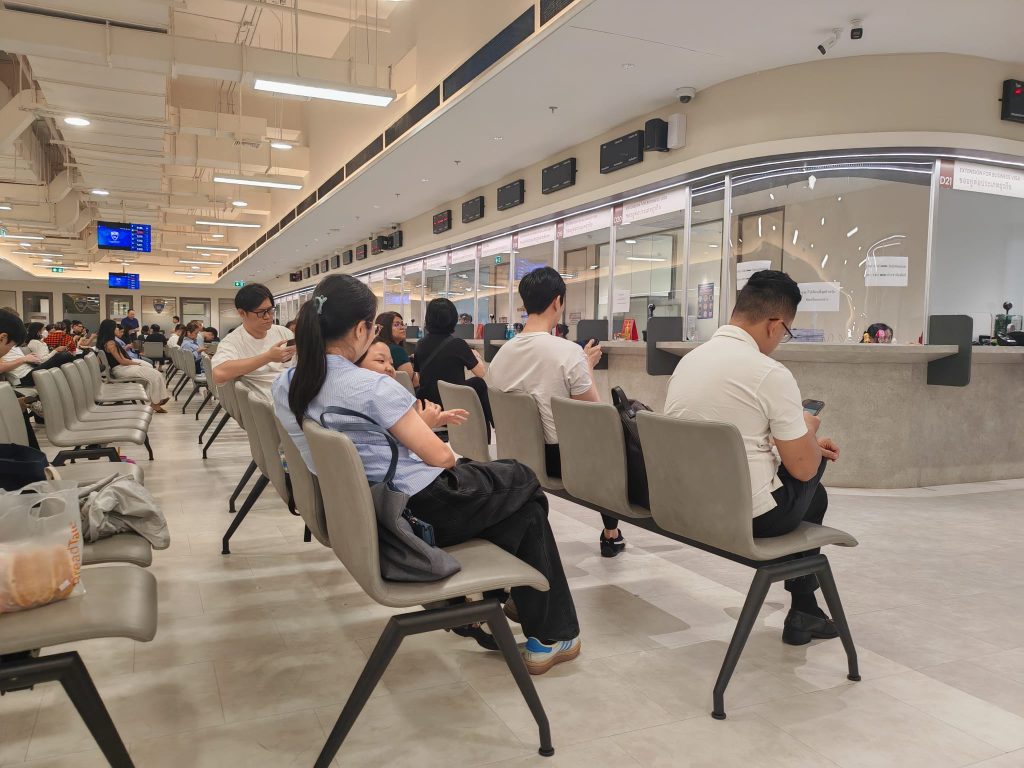
4. Get a queue number at the INFO counter
Locate the INFO counter inside the large room. Show your completed forms and they will issue you a queue number.
5. Pay THB 3,000 at the cashier
When your number is called, approach the cashier, hand over your forms, and pay THB 3,000 in cash on the spot. You will receive your documents back after payment.
| Payment | Amount (THB) | Where |
|---|---|---|
| Work Permit fee | 3,000 | Cashier in Large Room |
| Non-B Visa fee | 1,900 | Info Counter D1–D4 |
| Total | 4,900 | — |
Part 2: The Small Room (Photo & Data Entry)
After paying in the large room, you’ll go to a smaller, adjacent room. Look for the corridor leading off the large room — the small room is on your right of the below corridor.
📵 No Photos AllowedPhotography is not permitted inside the small room.
6. Submit your forms at the INFO counter (left side)
Enter the small room and find the INFO counter on the left side of the room. Hand your forms and original passport to the officer and wait nearby.
7. Get your photo taken (next table on the left of the INFO counter )
When your name or company name is called, go to the table on the far left where a camera is set up. Hand your forms to the officer there, sign on the digital pad, and have your photo taken. Make sure you’re wearing a collared shirt.
8. Submit forms at Counter G02 (far right table)
After your photo, collect your forms and passport, then go to counter G02 at the far right. The officer will perform a quick check and data entry, then call your name. Collect your forms once called.
Part 3: Visa Payment & Final Collection
9. Return to the Large Room — Info Counters D1–D4
Head back to the large room and go to the Information Counters labeled D1, D2, D3, or D4 to collect another queue number.
10. Pay THB 1,900 for your Non-B Visa
When your number is called, submit your remaining forms and pay the THB 1,900 visa fee.
11. Return to the Small Room — Counter G02
Go back to the small room and hand your passport and remaining form to the officer at Counter G02. She will do a final check and data entry to complete your BOI Visa and Work Permit.
12. Collect your passport
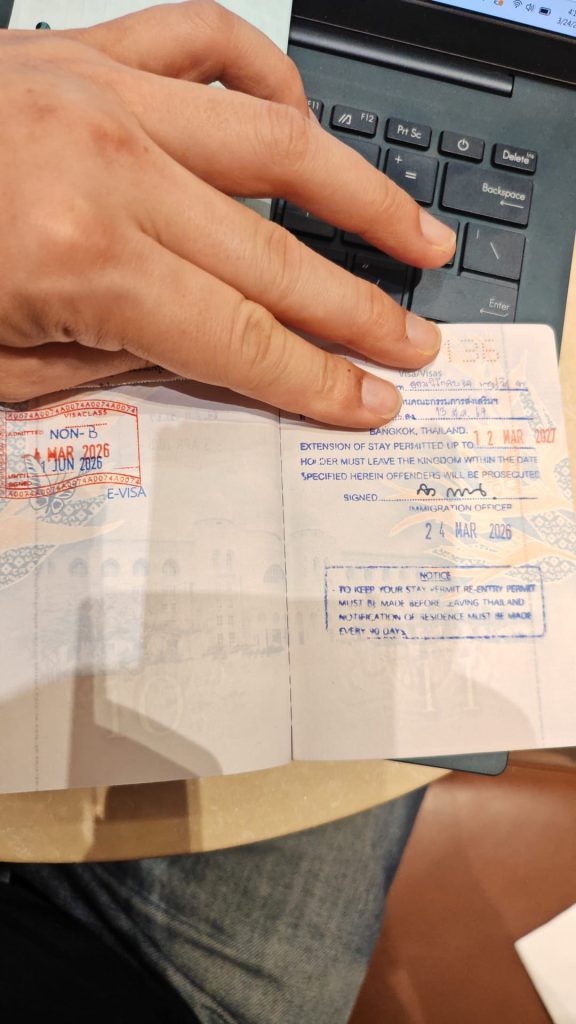
Pick up your passport — it will now have a Non-B Visa stamp. You’re done at the office.
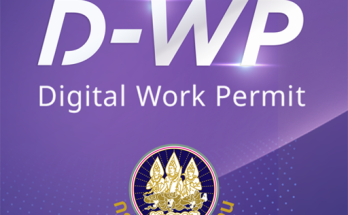
After Your Visit: Activating Your eWork Permit
Your BOI eWork Permit is digital, meaning the final step happens online, not at the office. After your appointment, check your inbox — you should receive two emails from the system with instructions on how to activate your Digital Work Permit.
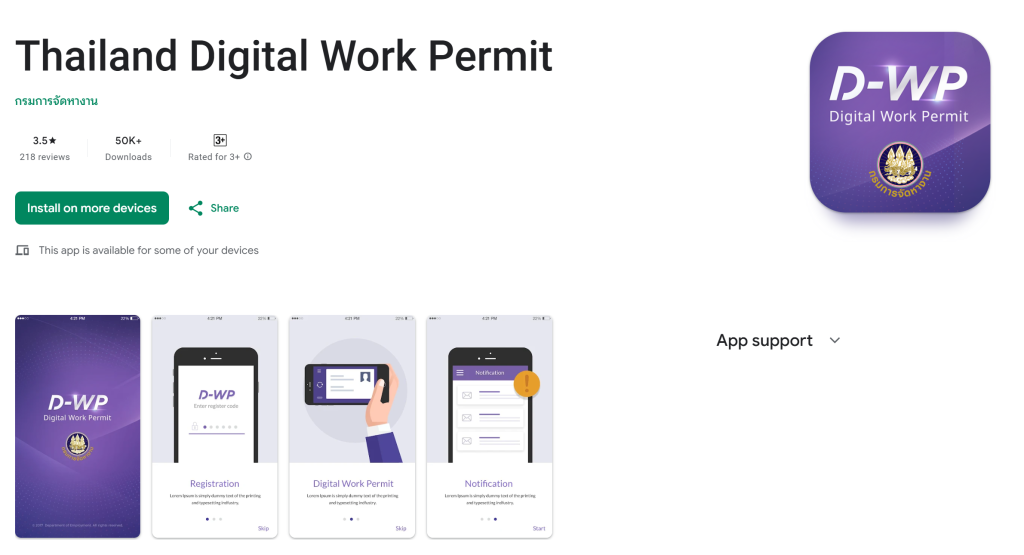
⚠️ Don’t Skip This StepYour work permit is not active until you follow the activation instructions in those emails. Check your spam folder if you don’t see them within a few hours.